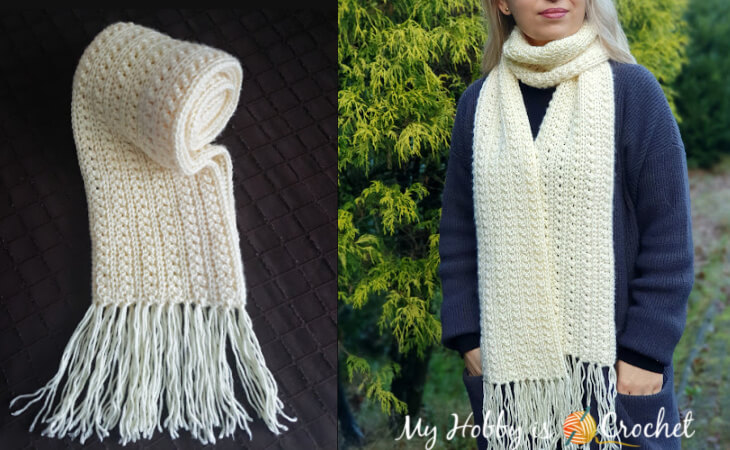
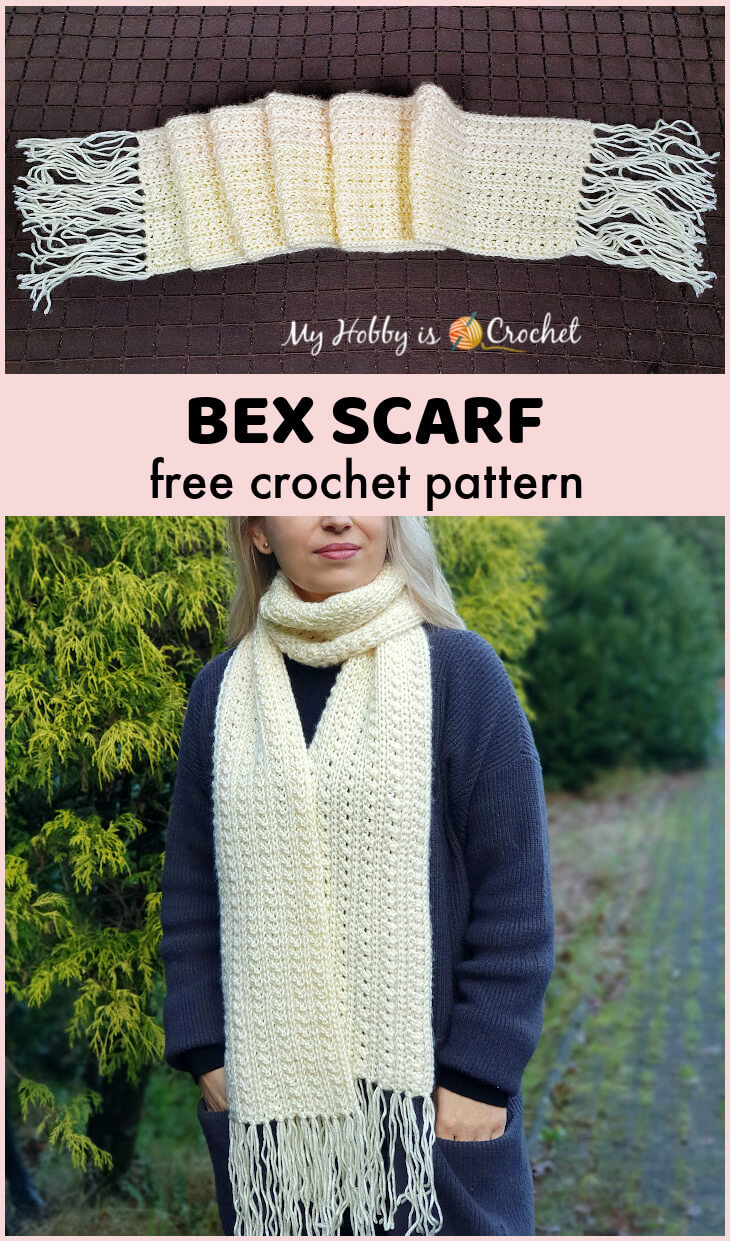
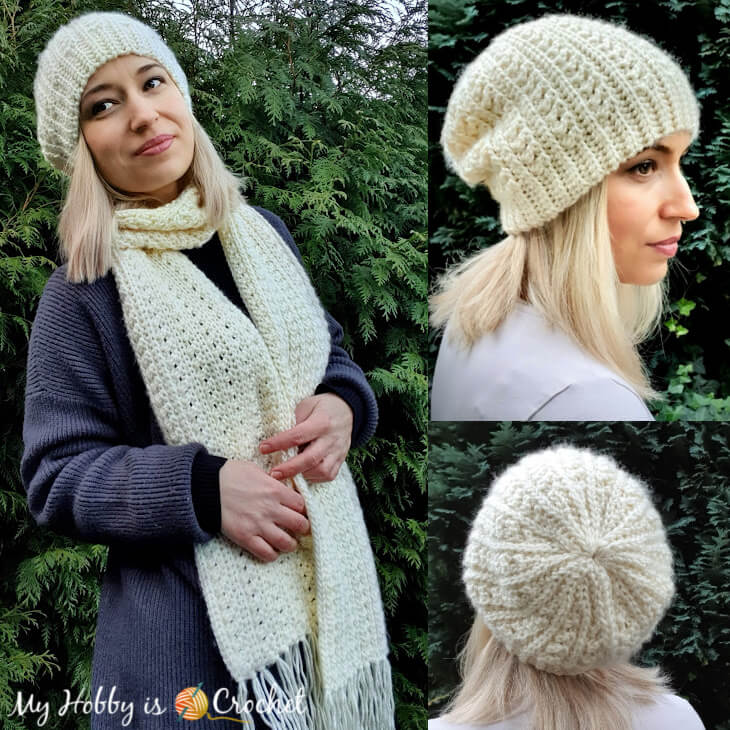
Many of you mentioned that you loved the Bex Hat, so I have designed a scarf to go with it. So here it is, the Bex Scarf, a free crochet pattern that you can find here, on My Hobby is Crochet blog!

*Disclaimer: This post includes affiliate links and at no additional cost to you, I might earn a small commission if you decide to purchase through these links. Thank you!
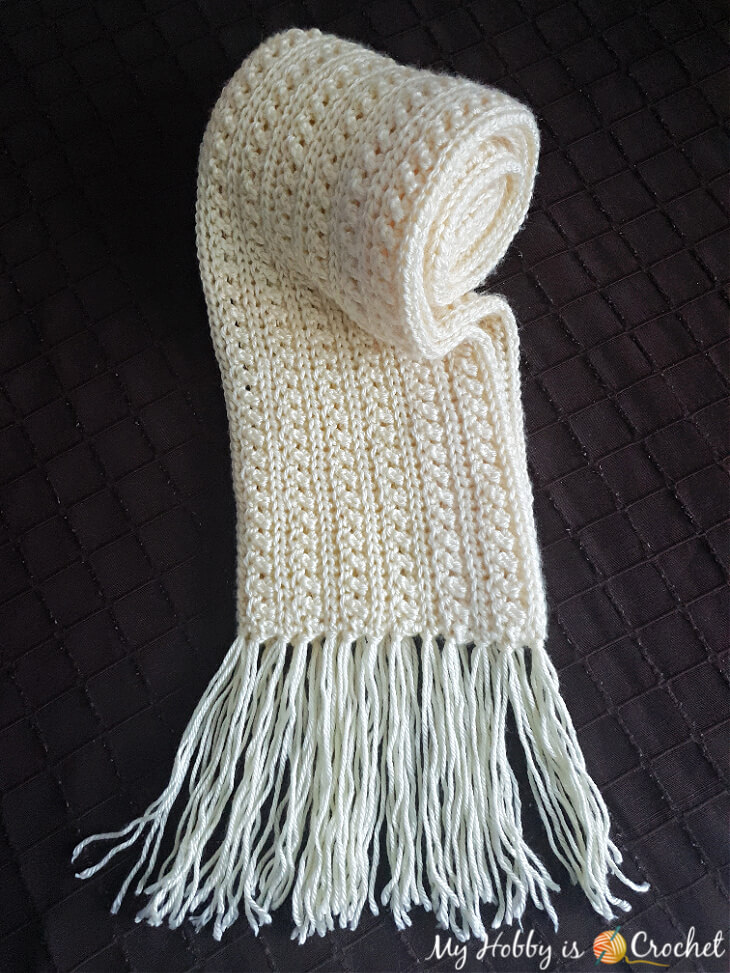
The Bex Scarf is a soft crochet scarf with an interesting knit-look pattern and a lovely drape! Althought it has a right and a wrong side, the scarf looks pretty on both sides, featuring a slightly different look on each one.
This scarf design is suitable for teen, adult women, but also for men.
Here's a close up! Just look at that gorgeous knit-alike texture!


Bex Scarf
SIZE
Without the fringe, the scarf is approx. 72” (184 cm) long and 7” (17.5 cm) wide.You can easily adjust the size of your scarf!
For a longer scarf start with more foundation chain sts in multiples of 2 +1 stitch to turn.
For a wider scarf add more rows in the pattern repeat.
GAUGE
14 sts and 13 rows in pattern repeat = 10cm x 10cm (4”x4")
SUPPLIES:
- 3 skeins of Red Heart Soft, colorway Off White
(yarn weight: 4 Medium; Content Solids: 100% acrylic
Ball size: 141 g/5 oz, 234 meters/256 yards) - 5.5 mm crochet hook (I have used Furls Wooden Hook, Cocobolo)
- Yarn needle
- Scissors
- 2 stitch markers (optional) Using stitch markers, one in the first stitch and 1 in the last stitch of a row could be a great help not loosing the stitches on the edges!
STITCHES AND ABBREVIATIONS (US TERMS)
- ch: chain-back bump of chains. Click here for my tutorial.
- st: stitch
- hdc: half double crochet
- dc: double crochet
- RS: right side of work
- WS: wrong side of work
Special Stitches:
- Yarn Over Slip Stitch (yo-slst): Yarn over (yo) and insert the hook into indicated st; yarn over and draw the yarn through.
(You have now 3 loops on the hook).
Having the 3 loops on hook, pull/slip the first loop on hook through the next 2 loops on hook to complete a Yarn Over Slip Stitch (yo-slst).
Click here for my TUTORIAL!
- Yarn over slip stitch back loops only (yo-slst-blo): work the stitch as described above, but inserting the hook only into the back loops of the stitches.
- Back Crossed Double Crochet (bcr-dc): sk 1 st, work 1 dc into the next st, 1 dc back into skipped st going behind the last dc just made, so as not to catch it.
-
Back Crossed Half Double Crochet (bcr-hdc): sk 1 st, work 1 hdc into the next st, 1 hdc back into skipped st going behind the last hdc just made, so as not to catch it.
(Note that 1 bcr-dc is made of 2 double crochet stitches that are crossed!)
NOTE: the ch 1 at beg of rows will not count as a stitch!
INSTRUCTIONS
Ch 251Row 1 (WS): Inserting hook into back bumps of chains, work 1 yo-slst into 2nd ch from hook and 1 yo-slst in each ch across; ch1, turn. (250 sts total)
(Note: Working the stitches of the first row into back bumps of chains will create a pretty edge.)
Row 2 (RS): work 1 yoslst-blo in each st across, ch1, turn. (250 sts)
Row 3 (WS): Inserting hook under both top loops of the stitches, work 1 hdc in first st, then work bcr-dc sts across the row to last st, ending the row with 1 hdc in last st; ch1 and turn!
(You’ll have 124 crossed stitches between the 2 hdc sts on the edge = 250 sts total )
Rows 4-6: work 1 yoslst-blo in each st across, ch1, turn. (250 sts)
Rows 7-25: repeat rows 3 - 6.
Basically you will alternate 1 row of back crossed dc stitches with 3 rows of yo-slst-blo!
NOTE: At the last repeat you will miss the 3rd.row of yo-ylst-blo and you will end the scarf on the wrong side ( with row 25).
This will make the scarf symmetrical, having two rows of yo-slsts at the bottom and two at the top edge.
Fasten off. Weave in the ends.
Adding fringe:
Cut lengths of yarn 15" (38 cm) long. Taking 2 strands together, knot into fringe evenly across each end of scarf.
( I have added 13 knots this way: 1 knot on the edge of each knit-look ridge.)
Trim fringe evenly.
I hope you enjoy this pattern!
Check out also the matching Bex Hat Free Crochet Pattern!

For more free crochet patterns and tutorials, please visit my FREE Crochet Pattern Page!
Don't miss out new free crochet patterns, tutorials and other updates from My Hobby is Crochet! SUBSCRIBE to our FREE Newsletter and follow My Hobby is Crochet on Facebook, Pinterest , Instagram and YouTube.
Crochet Bex Scarf
Written Instructions and Pictures Copyright © 2022 Kinga Erdem
This pattern is free for your personal use, you can sell the products of your work, a link back to my blog would be appreciated. Do not use my photos for selling purposes or modify them in any way.
Please don't repost the pattern itself to any other sites, but please share the link to the pattern if you want to share the pattern with your friends. You may not give away copies of this pattern.
Do not make video tutorials or translate my pattern in other languages without my written consent!
Thank you,
Kinga


Dear Kinga,
ReplyDeletemay I get the hat's pattern too, please?
Have a nice week and keep your health!
Best wishes
Marianne
Hi Marianne,
DeleteSure! You can find the link to the Bex Hat pattern in the post above. Or type "Bex Hat" in the search bar top right.
Best wishes
Kinga
I tried this.....tried the first row. But I cannot get that loop through the other 2.....its just not happening. I have been crocheting for almost 60 years and as easy as it sounds, I can't get it.
ReplyDeleteI watched the tutorial and it shows you doing it on an already established piece....not the foundation row. Any suggestions? I don't want to make the foundation loops so loose that the rest of the piece looks funny.
Hi, I found it easier to pinch the 2 loops that are on the hook with the help of your left hand index finger and thumb. Please see how I hold those loops video from the Bex Hat or this short video with the yo-slst: https://youtu.be/tPfuFGroWck
DeleteIn have found it so much easier to turn the hook around backwards when pulling through. Instead of turning towards you and pulling through, turn it away from you and pull it through. It makes it so much easier and your not having to manipulate your fingers anymore than they already are
DeleteOlá minha
ReplyDeletePor favor,vc tem o vídeo ensinando como tecer o lenço bex?